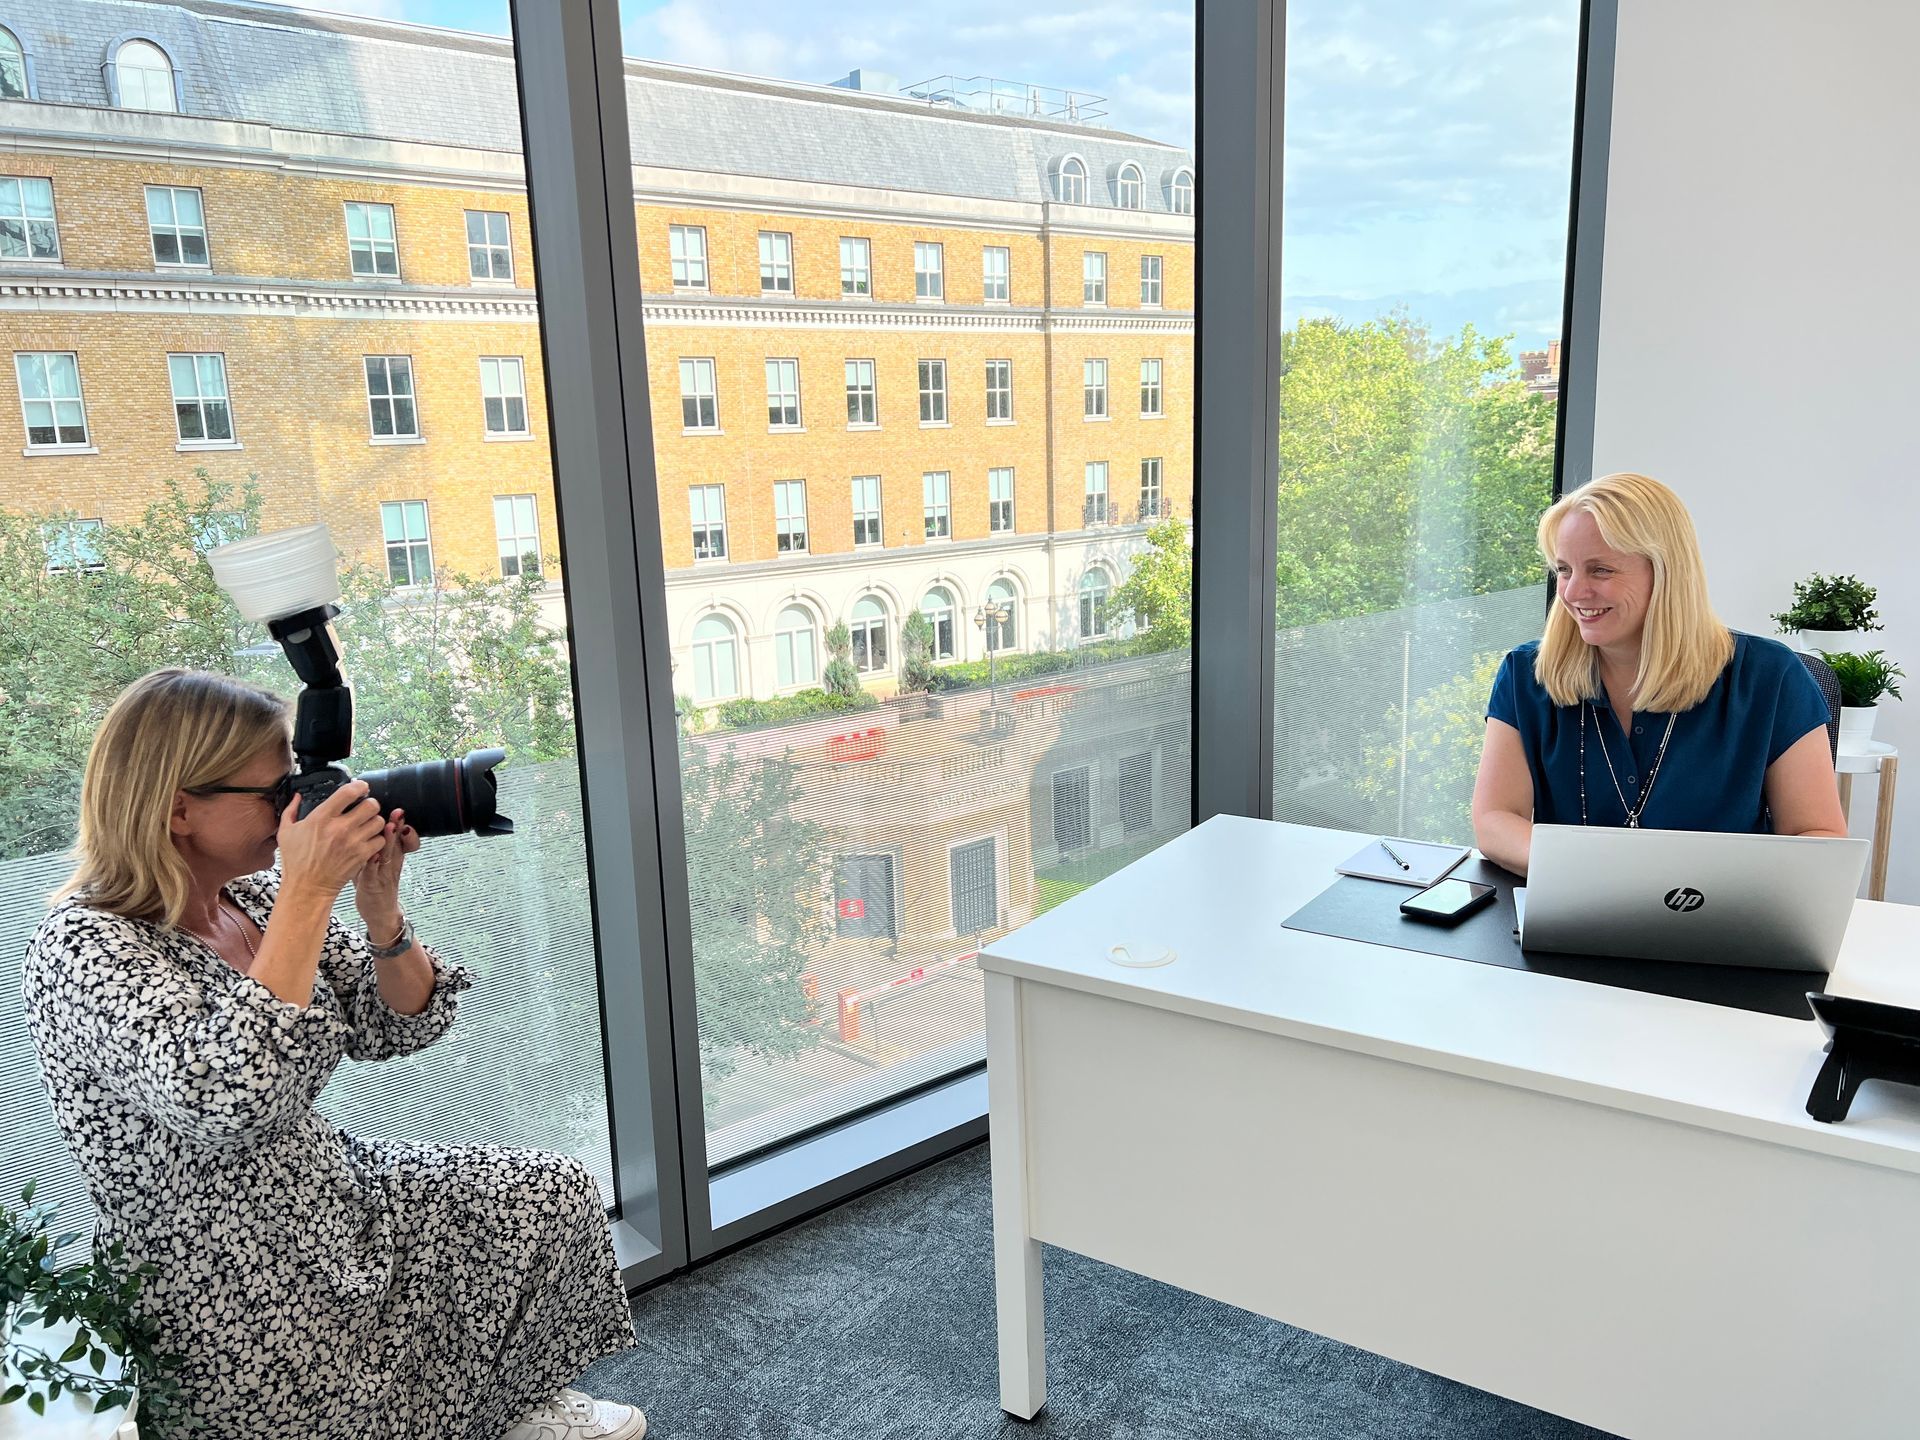
How to turn your smart phone photos from 'Ok' to 'WOW'. Here are my 5 top tips.....
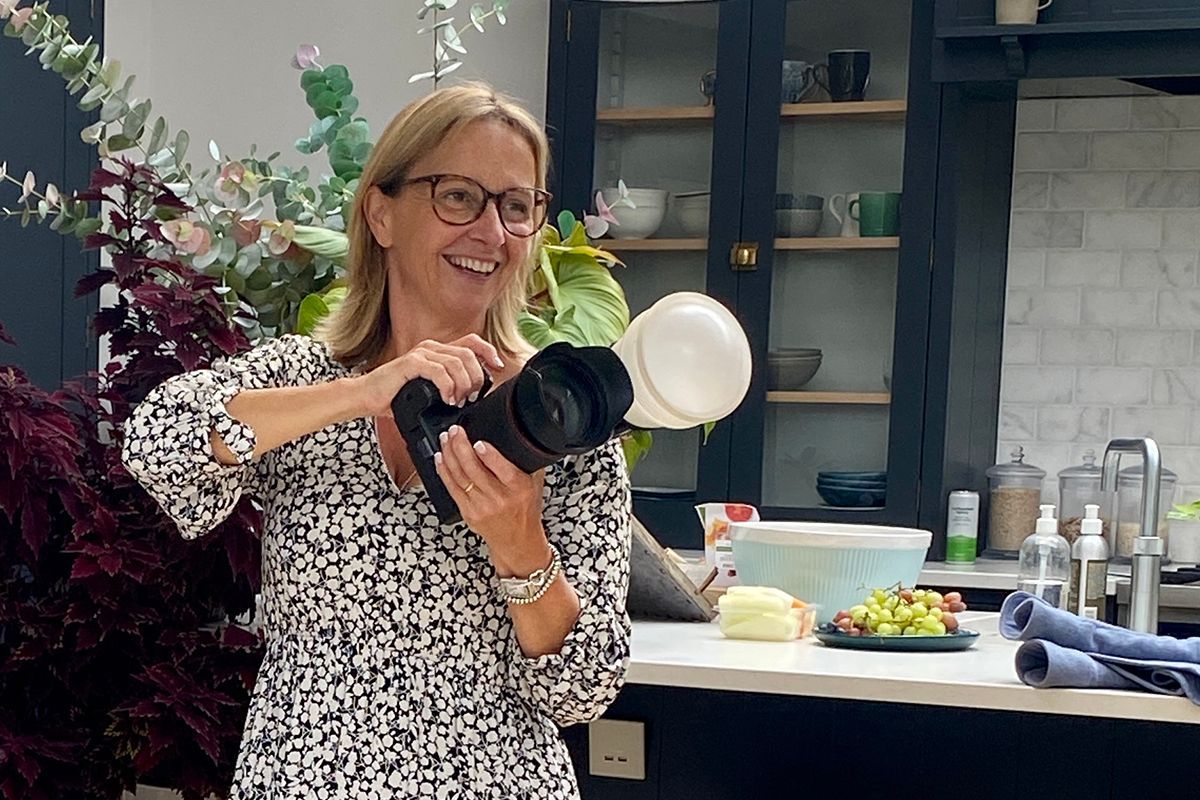
Pennie Withers - Commercial Photographer Berkshire. www.photosbypennie.co.uk

Lots of business owners top up their photo banks with pictures taken on their own smart phones. And, I often get asked for tips that people can use to make their smartphone photos look more professional.
Obviously there are filters etc... that can be used to quickly improve your phone photos, but there are also a few basics principles that you can apply to make your photos instantly better and more visually appealing. So - read on to learn how......
But first.....a couple of quick stats as to why you should be using photos on your social media posts:
According to Twitter, Tweets with photos receive an average 35% boost in retweets .
Whilst over on Facebook, posts with photos receive an average 37% increase in engagement.
So, with over 3.8 billion* smart phones in the world today, there really is no excuse not to use photos in your posts!Hopefully,
you will have invested in some professional photos to market your business on your website etc (if not, here's the link to my webpage so you can soon rectify that! https://bit.ly/2MNx6pl
). But I recognise that these also need to be topped up every now and then, so here are my top 5 tips to help you instantly improve your smartphone photos:
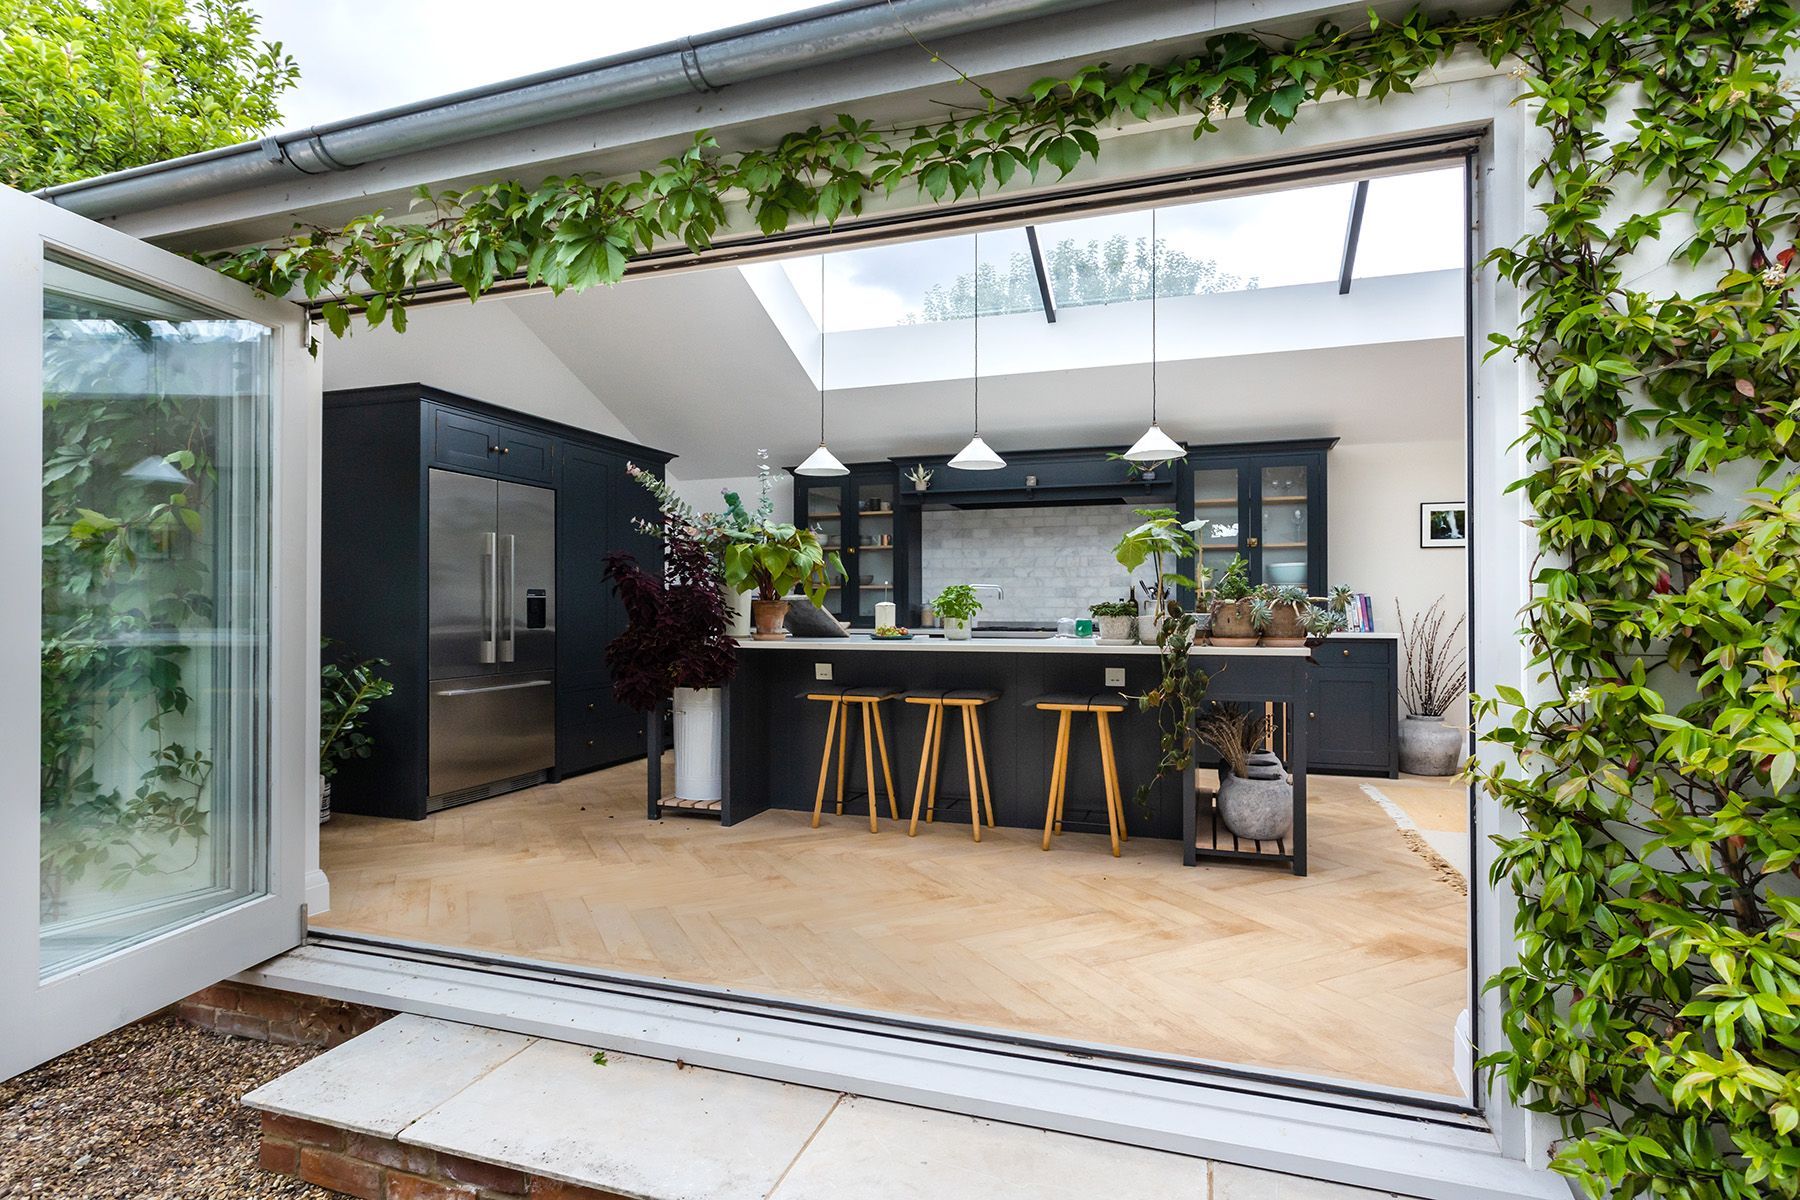
Tip 1 - The Rule of Thirds
Composition is so important in photography and one of the first things you are taught is the Rule of Thirds. This is one of the simplest principles to learn and also to use successfully. And for all those visual learners out there (like me!) it's very easy to understand.
All you have to do is imagine two equally spaced horizontal lines and two vertical lines over what you want to photograph. Just like a noughts and crosses board. Then, place the main subject(s) of your photo where the lines intersect. For example, in the photo below left, the subject is placed left of centre which is much more striking than if he was just bang in the middle.
To make it even easier, many smartphones have a feature where you can have this grid of nine squares always on as a permanent reminder and a visual aid. Just click the 'grid' function in your camera settings.
Hopefully you agree that both of the images below look so much better with the subject placed off centre on one of the intersecting thirds than if they were simply placed dead centre.

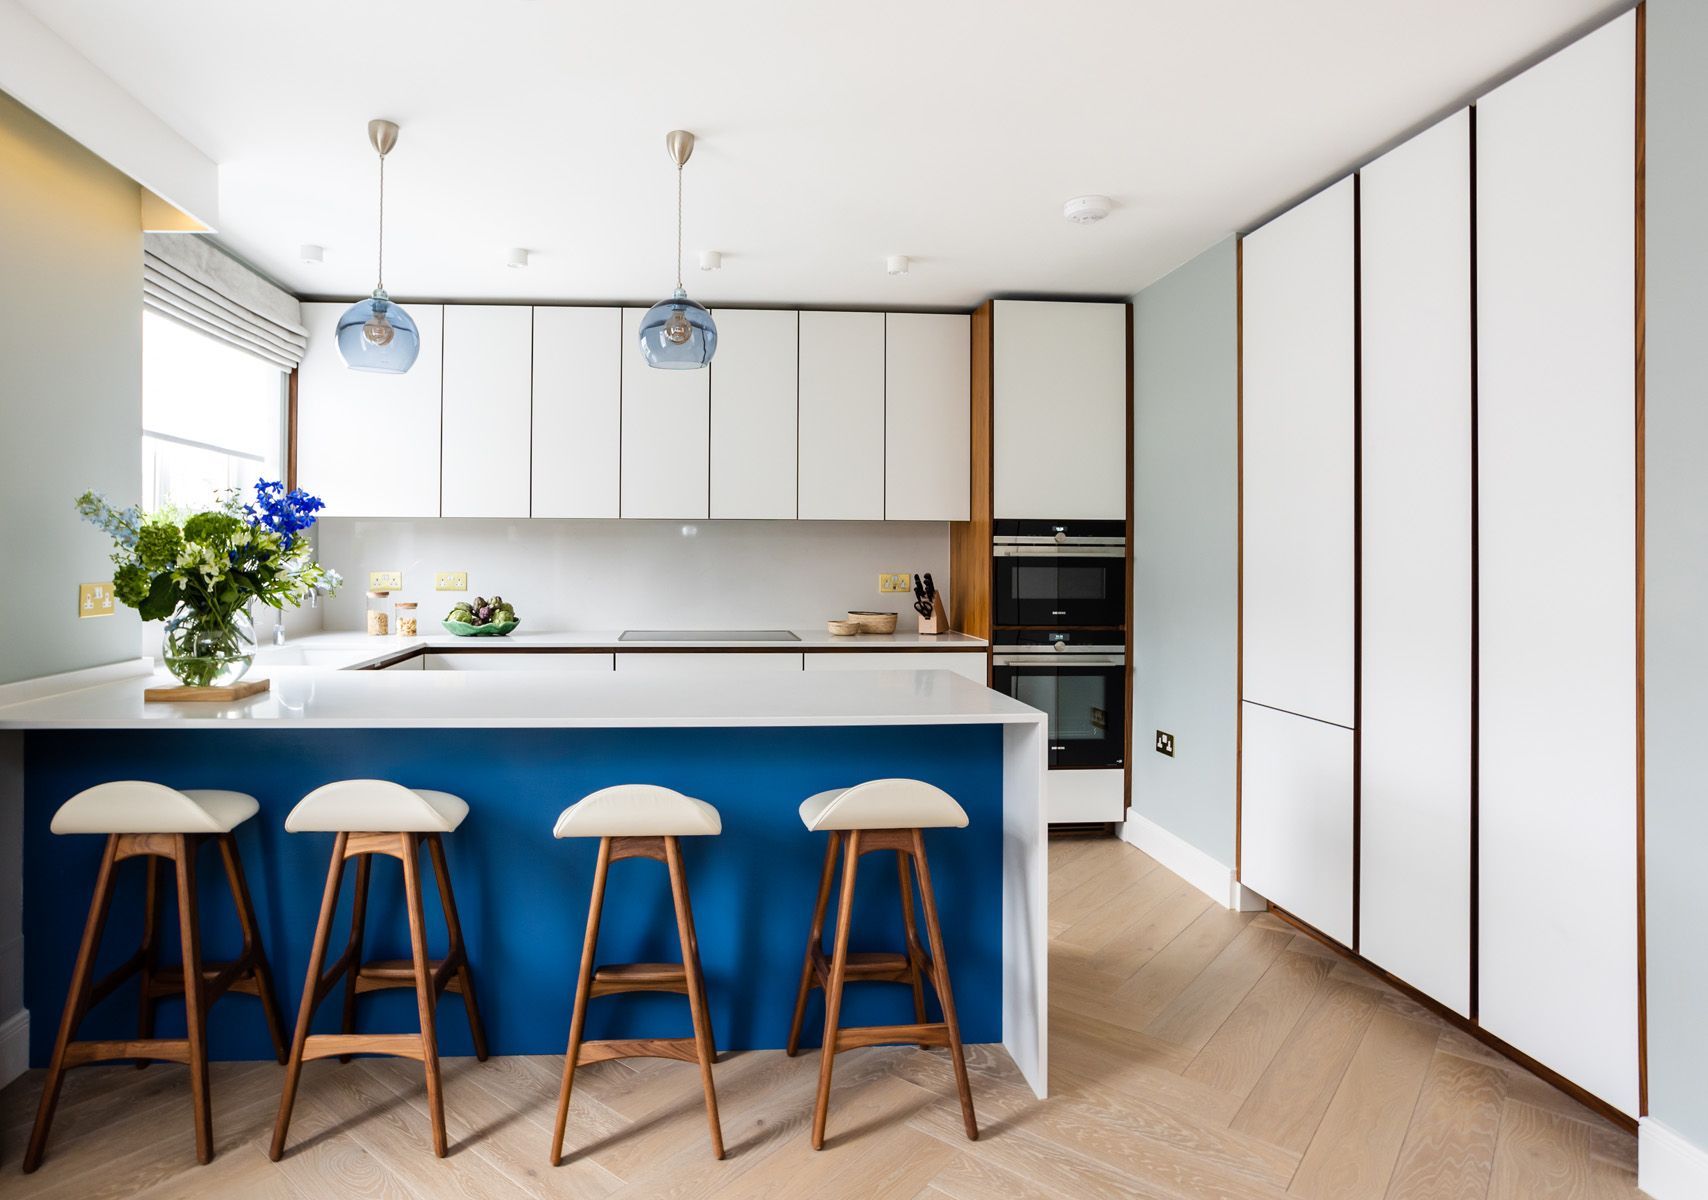
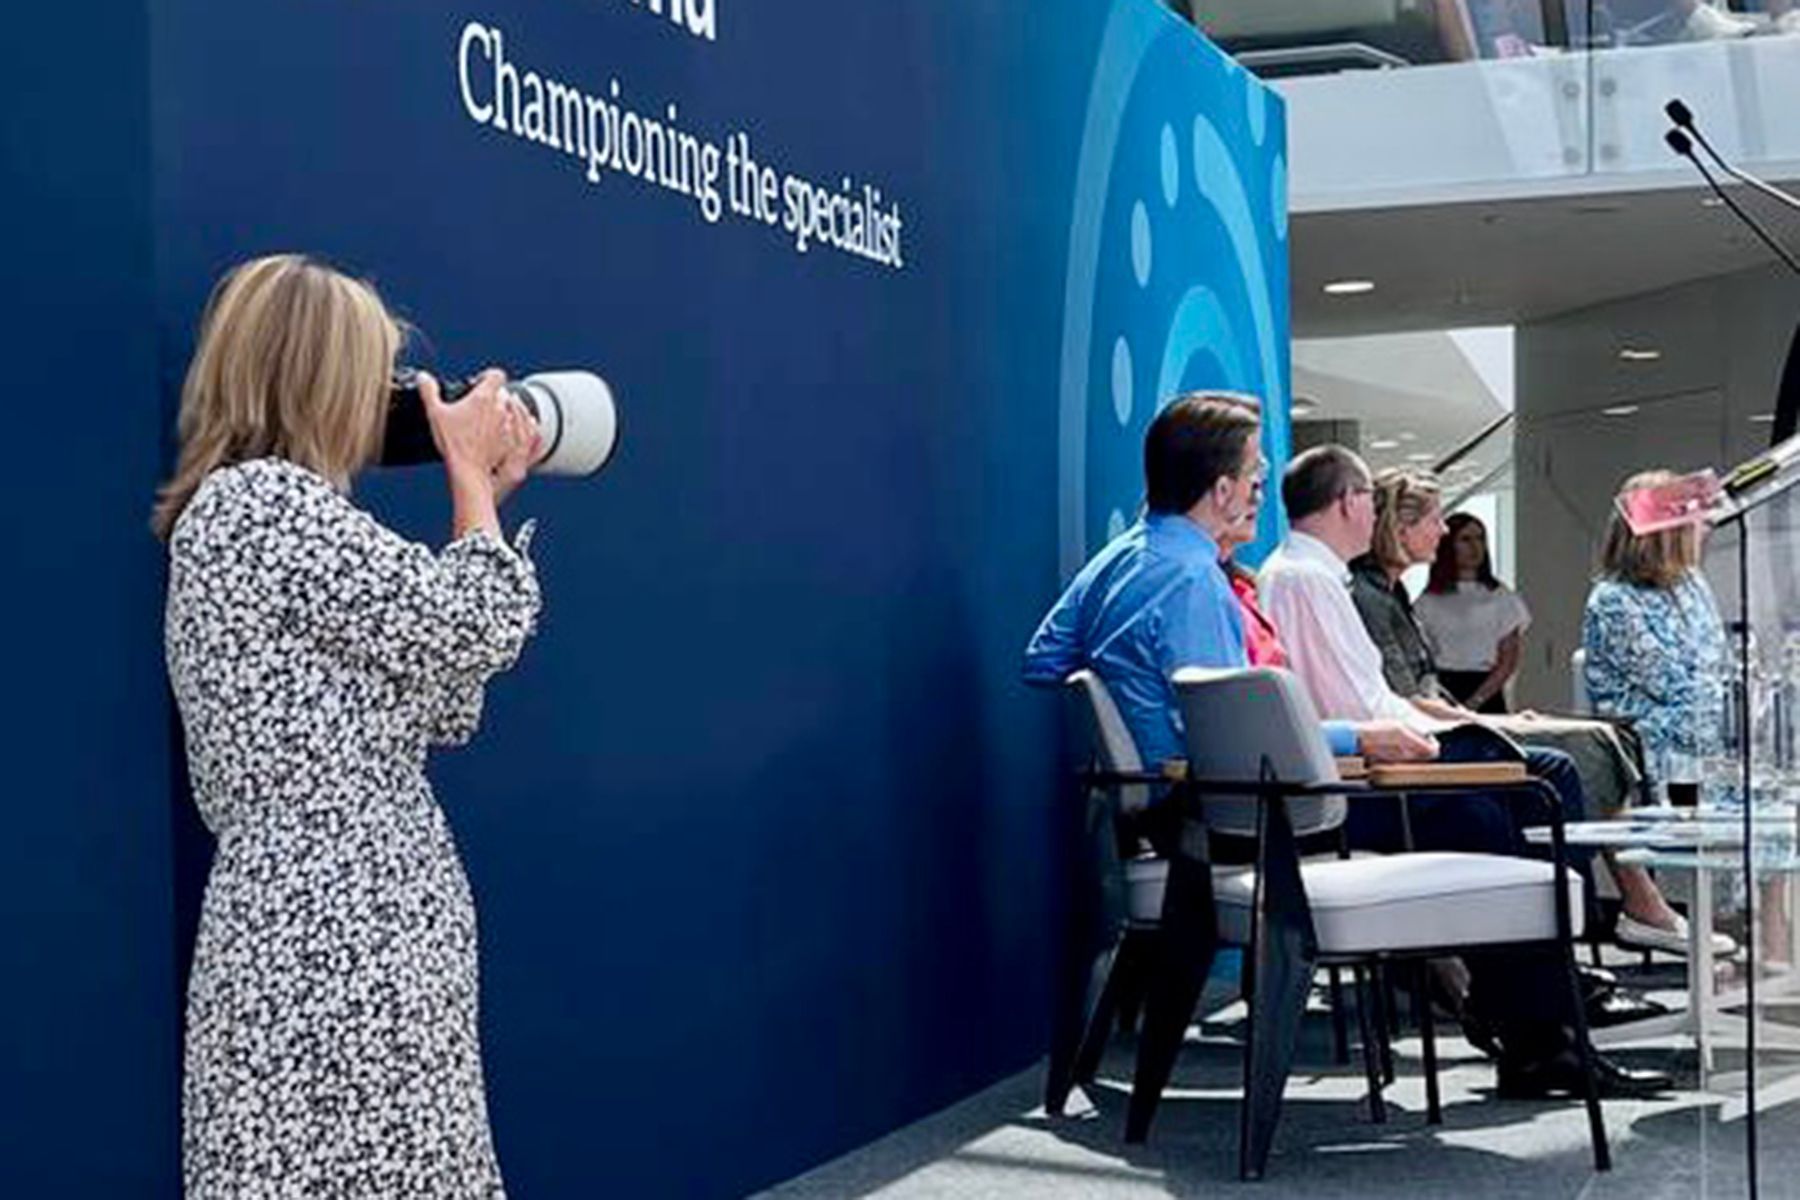
Tip 2 - Leading lines
Use leading lines to create interest in your shot and draw your eye into the photo. So – a bit like the rule of thirds, you are basically just making your shots that little bit more creative than just photographing from straight on. Below are two examples where things like walls and a pathway are used to add that interest. The lines can lead to your main subject of interest or it can just lead your viewers' eye further into the picture. Either way, it'll be a lot more interesting image. So move around and experiment with different angles - straight on isn't always the best angle.

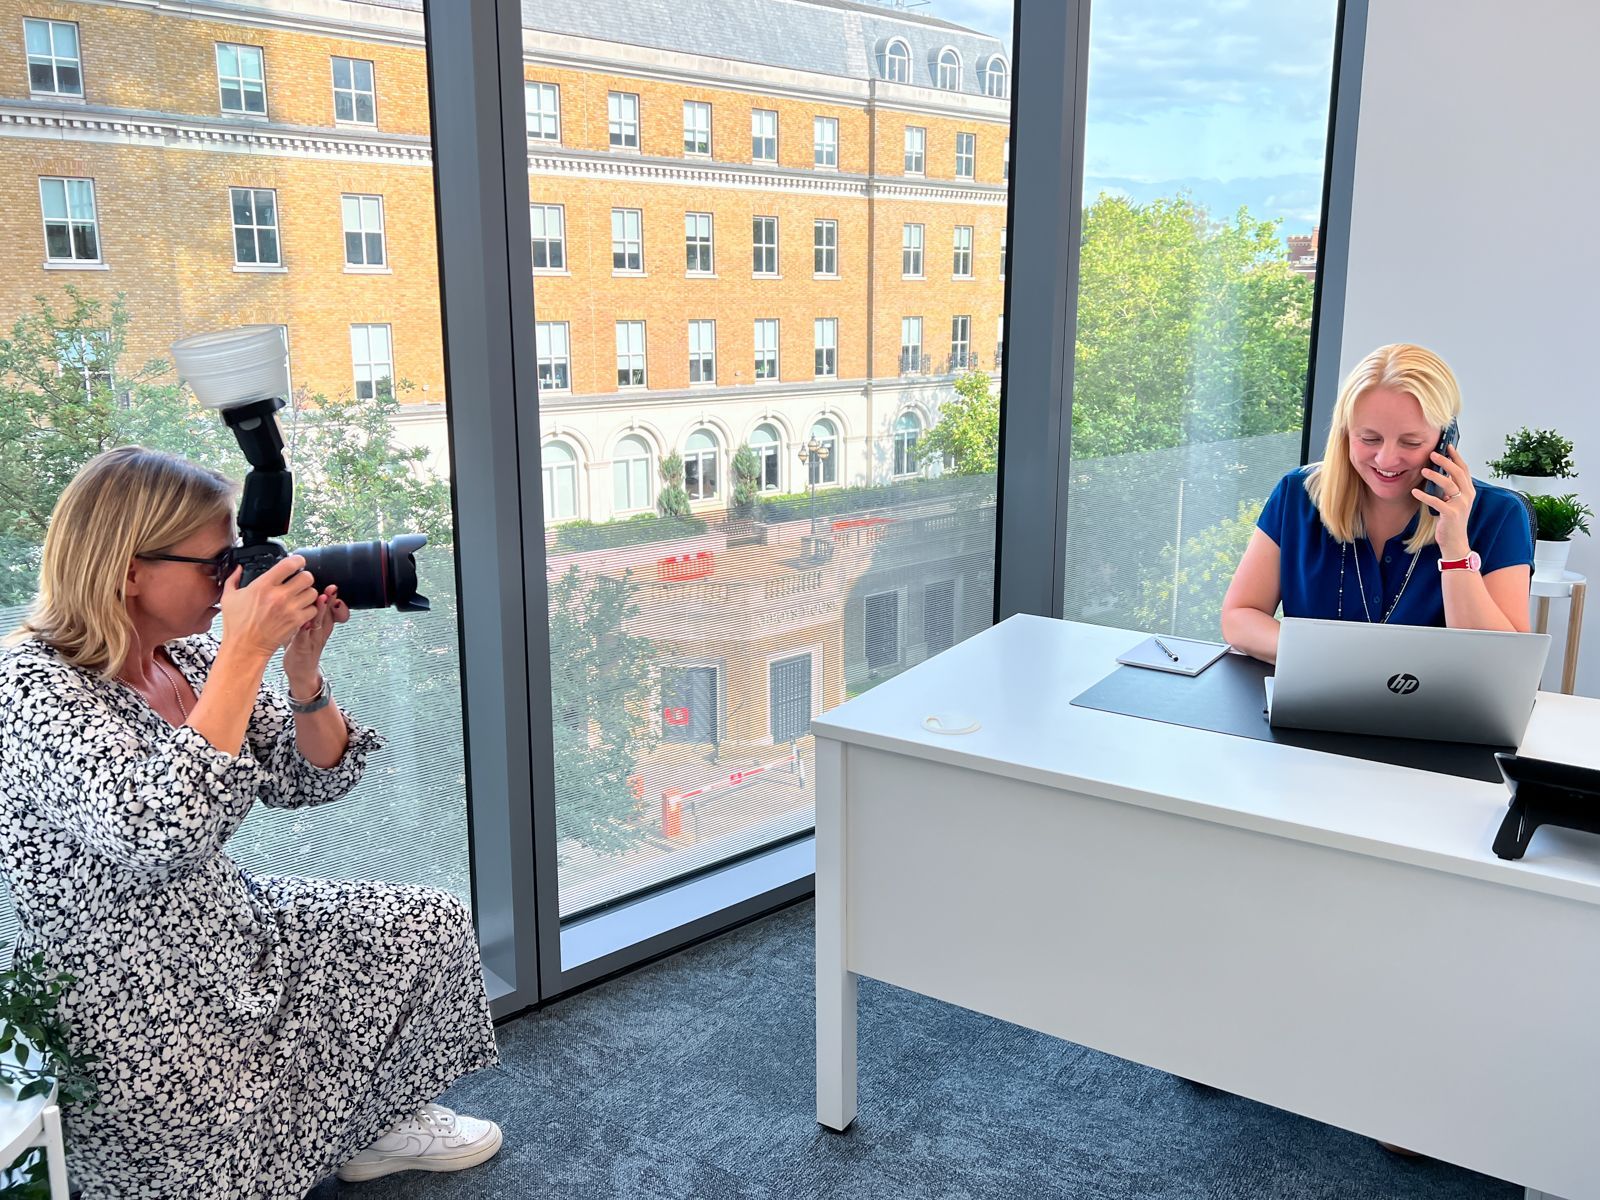
Tip 3 - Find the best light
Everyone thinks the best photos are taken on bright, sunny days. Not true !
If you place your subject in the bright sunlight, all you will get is someone squinting with shadows/rings under their eyes. So - if you can’t avoid a bright, sunny day, head for some top-shade . This is created either by doorways or under trees. Your subject will still be lit beautifully, but won’t be blinded by the sun. Or, my best advice would be to take your photos on overcast days – the clouds act like a virtual soft box.
Also - do NOT use flash ! If you are using a phone, the flash is never any good and the photos end up looking terrible.
Even better......try to shoot your photos during the ‘ golden hour ’. This is the time either shortly after sunrise or before sunset during which almost everyone and everything looks absolutely gorgeous. (Think about those holiday photos early evening when the sun is going down). See below for an example.

Tip 4 - Control exposure
This is fairly limited on smart phones, but can still make a big difference. On I-phones when you have a photo you’d like to take, simply tap and hold the screen on the part you would like the best exposure. You will see a slider, which allows you to increase/decrease exposure, and lock it. This can also lock focus – so you can decide what is in focus and what is not.
And finally......
Tip 5 - Keep your lens clean!
It may sound really obvious, but you’d be amazed what I see… your phone sits in your pocket, your handbag, on your desk etc. and gathers finger prints and goodness knows what else in the process. Before you take a photo – give it a little wipe and you’ll be guaranteed crystal clear photos every time!
I hope you find these tips useful and can start putting them into practice straight away. Hopefully, your social media photos will instantly start having greater impact.
If however, you would like to discuss possibly having some professional photos to market your business on your website or social media, do give me a call on 07715 889457 or send me an email on pennie@photosbypennie.co.uk.
https://www.photosbypennie.co.uk/
(*Source:Statista https://www.bankmycell.com/blog/how-many-phones-are-in-the-world )